Mobile Applications
“MyCBOS Receipts & Expenses” App
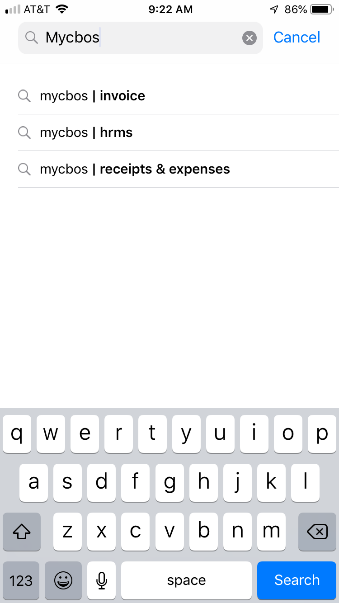
Acquire app:
-
Open your App Store application on your phone
-
Search for “mycbos” apps
-
Select the “mycbos | receipts & expenses” application
Get the “MyCBOS | Receipts & Expenses” app

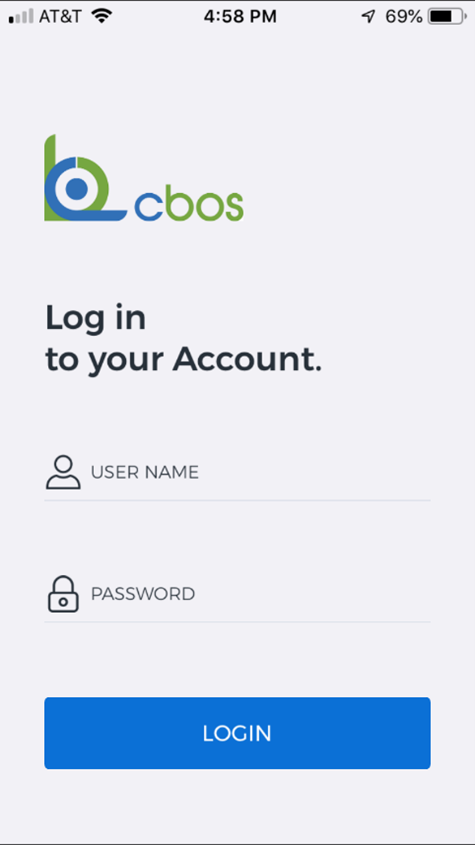
Open: the “MyCBOS | Receipts & Expenses” - Phone App
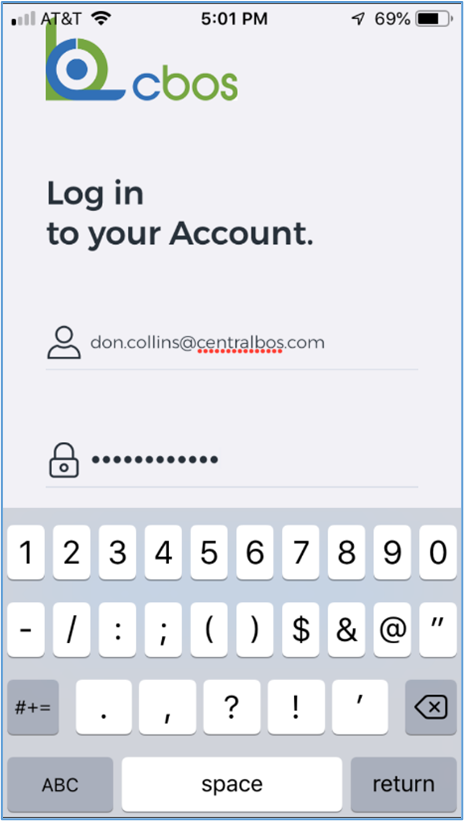
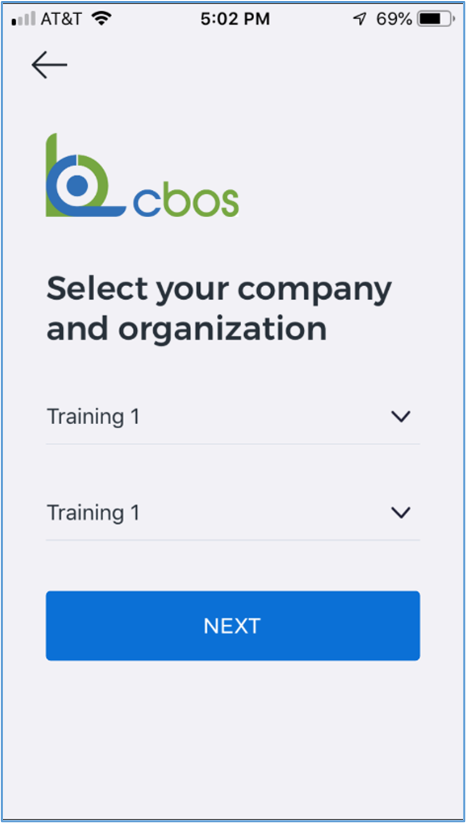
Log in to your Account: by entering your User Name and Password & then click Login
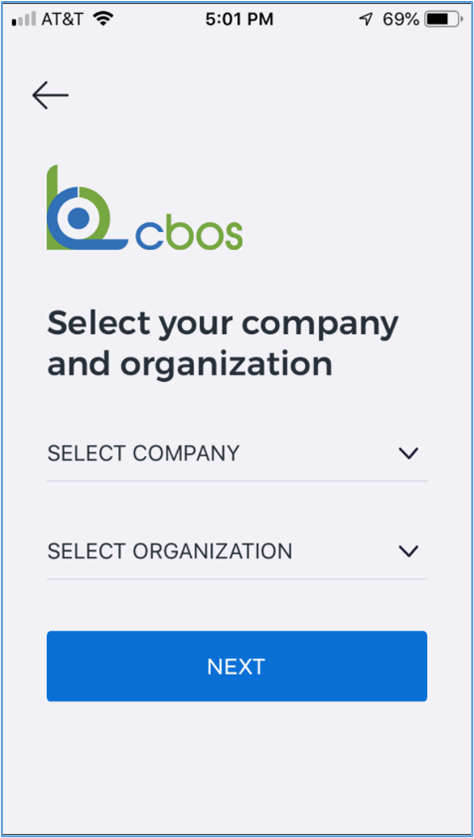
Select your Company & the Organization you wish to enter a receipt for.
Take a picture or upload a file from your mobile phone of your printed receipt or expense.
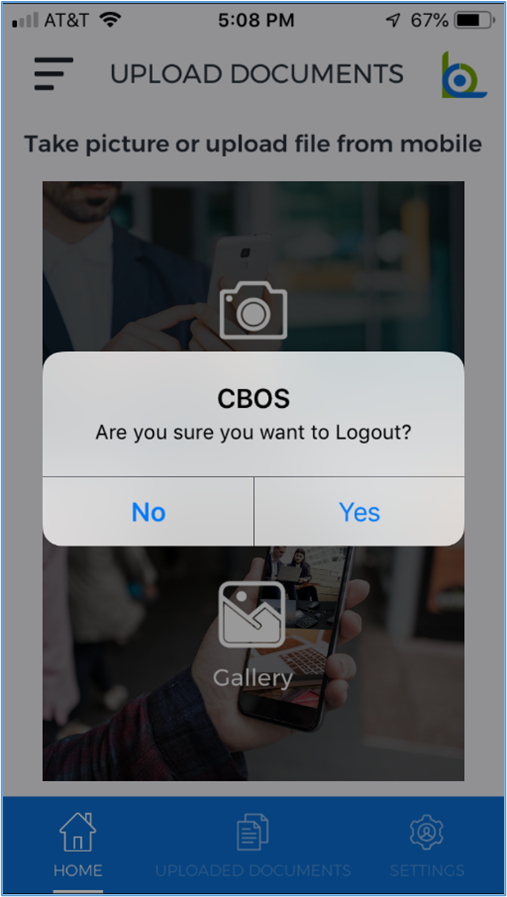
Home:
Click on the Camera to take a photo.
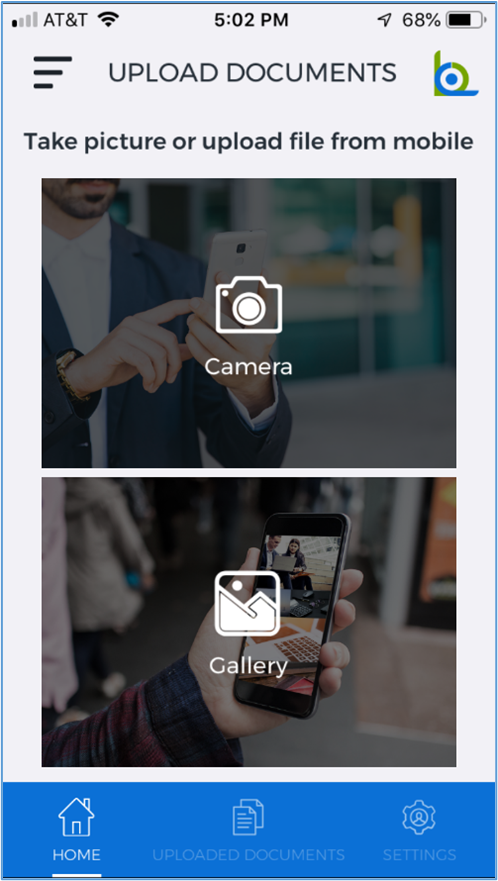
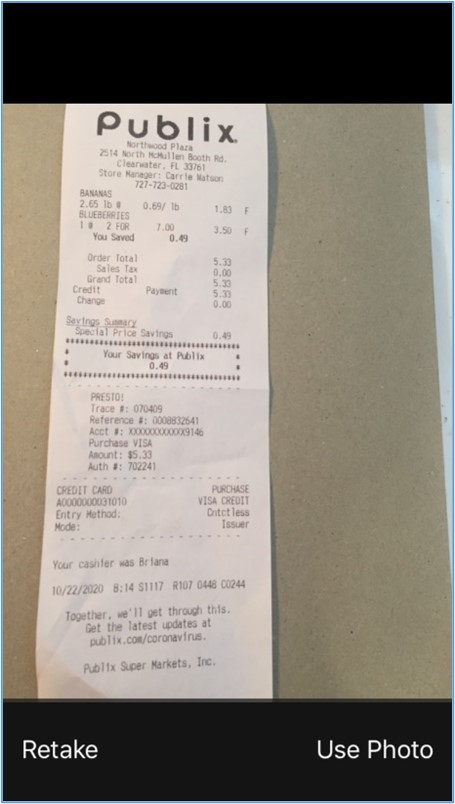
Take photo and then select Use Photo or Retake photo
Click on the Gallery icon and then Browse to select a photo or image from a file location on your mobile.

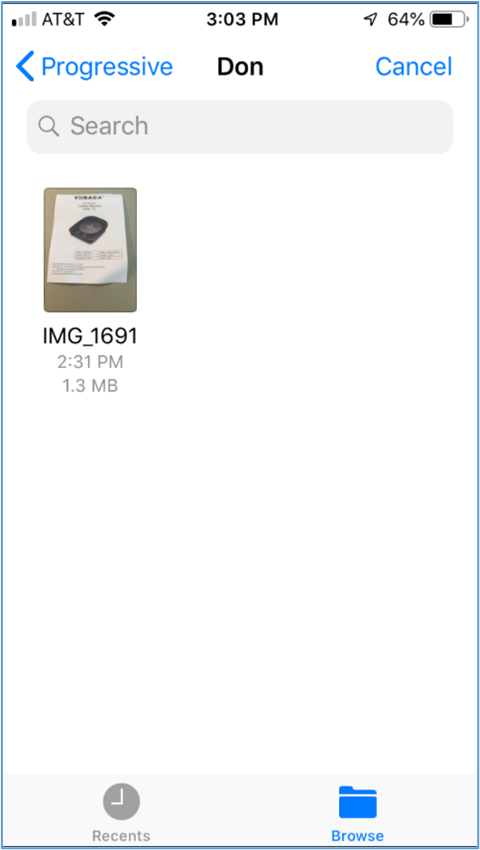
Once a photo or gallery item has been selected, you will be able to select the doctype and add notes.
Select the Doctype (Receipts, Invoices, or Bank Statements) & add notes to describe your receipt or expense
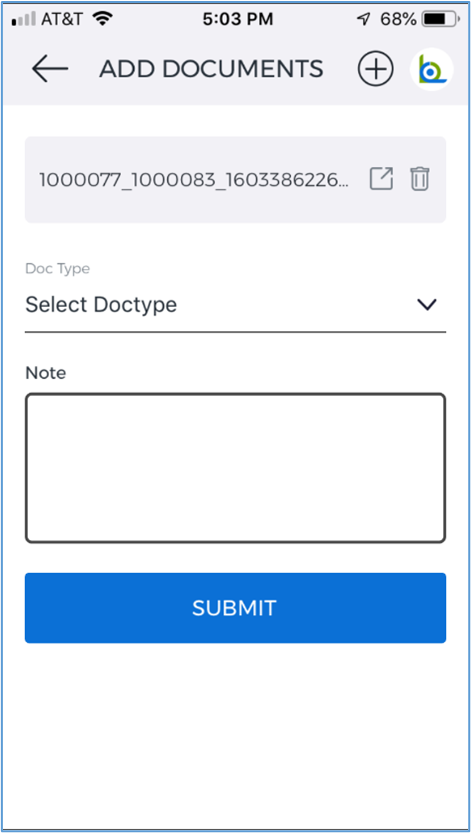
Click here to view your photo in this screen
Click the “+” sign here to add additional photos to your receipt
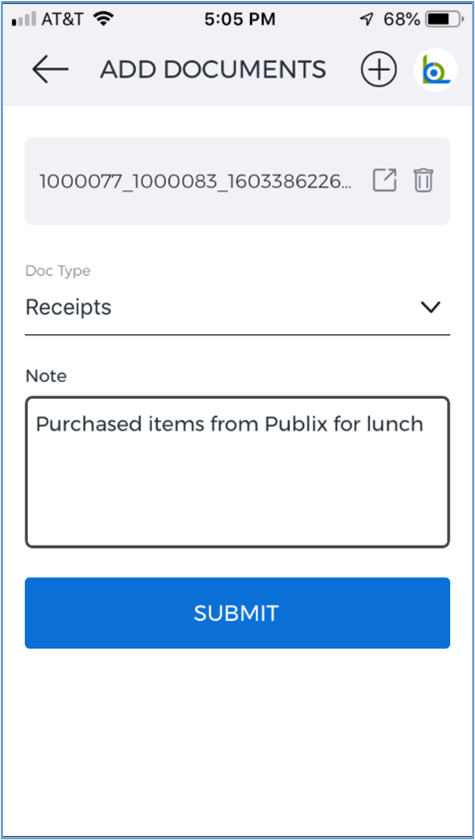
Click Submit to upload the photo to CBOS

Click on the Menu icon to view other functions like Uploaded Documents, Settings, and Logout

Select the Uploaded Documents function to view your uploaded receipts and expenses.

The Settings function displays logged in user name, email id, company name, organization name, & logout

The Logout function confirms your request to logout.
CBOS – windows application
To view uploaded receipts and invoice photos with notes, you will log into your regular CBOS application.
Then, select the Mobile Receipts menu item from your Quick Links selection or enter it in the menu search window.

Mobile Receipts
In the Mobile Attachment tabbed window, you will see a listing of your uploaded documents.
The Document Type (Receipts or Bill) and Notes entered in the Mobile app display on this window.
The “Processed” checkbox indicates whether an Expense Report or AP Invoice (Bill) has been previously entered for a given record. This field should be updated once a new Expense Report or Bill has been created.
Grid view:

Edit view:

To view the photo associated with your uploaded document, select the Files tabbed window
Mobile Receipt > Files tab window:
This window displays the link to the uploaded picture or file from the Mobile app.

Click on the Green Circle icon in the File_directory field to view the uploaded picture in a separate browser tabbed window.
Here is an example of an uploaded receipt photo shown below:

The document type, note and attachment information can then be used to create new Expense Reports or AP Invoices in CBOS. The steps to create Expense Reports and AP Invoices are documented separately.
Once these documents have been created, you will need to update the Processed checkbox on the associated Mobile Receipts window. This will indicate that the expense report or invoice has been created for this record.
